Inside: Learn how you can effectively use the NEAT organizing method to get and keep your home organized.
If you’ve ever scrolled through social media and seen carefully curated pantries or color-coded closets and wondered how to bring that same sense of calm to your own home, you’re not alone.
But organization isn’t just about how a space looks – it’s about function, flow, and feeling grounded in your space. And this is where the NEAT organizing method comes into play.
Whether you’re tackling a cluttered kitchen, a chaotic bathroom, or an overflowing closet, this step-by-step framework can help you take the guesswork out of getting organized.
Ready to bring more intention into your home? Here’s how you can effectively use the NEAT organizing method to create a space that feels both streamlined and serene.
What the NEAT Organizing Method Is
Disclosure: As an Amazon Associate, I earn from qualifying purchases. Please note that I only recommend products I use and love. Click here to read my full disclosure policy.
Founded by Ashley Murphy and Marissa Hagmeyer, the NEAT Method is a professional home organization approach that balances function and aesthetics.
Instead of treating organizing as a task, they take a lifestyle approach that blends beauty and practicality, with the goal of making a space both visually pleasing and highly functional.
They recently co-authored a book demonstrating how they use their organizing process in The Organizing Recipe Book: 70 Simple Projects to Take Your Home from Chaos to Composed.
Ashley and Marissa run an organizing company where they’ve trained other organizers in their NEAT method.

6 Steps to Using the NEAT Organizing Method in Your Home
Use these steps to implement the NEAT organizing method in your home.
Step 1: Take Everything Out
There’s no better place to start than with a clean slate. That means taking every single item out of the space you’re organizing, just as you would with the out-in-the-open decluttering rule.
This step might feel tedious or even a little overwhelming, but it’s essential because it allows you to see exactly what you’re working with.
Removing everything from a space gives you clarity. You’re able to assess duplicates, hidden clutter, and long-forgotten items that tend to accumulate in places you might be likely to overlook.
Whether you’re organizing a pantry or a linen closet, completely emptying the space gives you a fresh start and sets the stage for more intentional choices moving forward.
At this stage, it’s helpful to clean the area as well. Wipe down shelves, vacuum corners, and make any minor repairs needed. Think of it as preparing the canvas before creating your masterpiece.

Step 2: Categorize
Once everything is out in the open, the next step is to categorize your items.
In a kitchen, that might mean separating canned goods from snacks or baking supplies from spices. In a closet, it could involve dividing up shoes, pants, shirts, dresses, and accessories.
Categorizing is crucial because it reveals patterns in what you own and helps you determine how much space each type of item will need.
You may be surprised at how many pens, unopened toiletries, or half-used cleaning products you’ve accumulated over time. This step lays the groundwork for the next phase by bringing clarity and structure to what may have once felt chaotic.
Use broad categories first, and then refine into subcategories if needed. The goal is to make it easier to assess what stays and what goes and, eventually, to assign a logical home for everything you decide to keep.
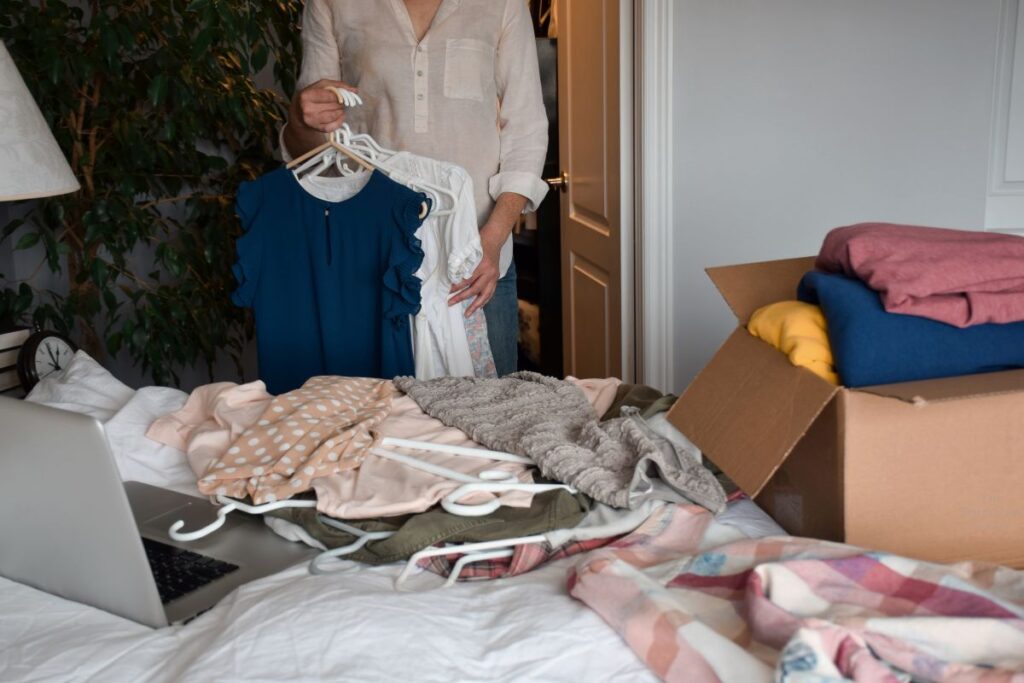
Step 3: Edit
This is where the magic happens. Editing means curating what you truly need, use, or love and letting go of the rest.
The NEAT method’s editing process is thoughtful and mindful, not ruthless. It’s not about embracing a totally minimalist aesthetic; it’s about ensuring that every item has a purpose in your home.
Ask yourself clarifying decluttering questions to help you determine what should stay or go. Do I use this regularly? Do I already have something similar that I like better? Is this worth the space that it takes up? Is it expired, broken, or unused? And is it adding any meaningful value to my life?
Be honest with yourself. If you’re hanging onto things “just in case” or out of guilt, consider whether they’re truly serving you. Donate or recycle anything that’s still usable but no longer fits your lifestyle.
The NEAT Organizing Method prioritizes purposeful living, and that means making room, physically and mentally, for what really matters.

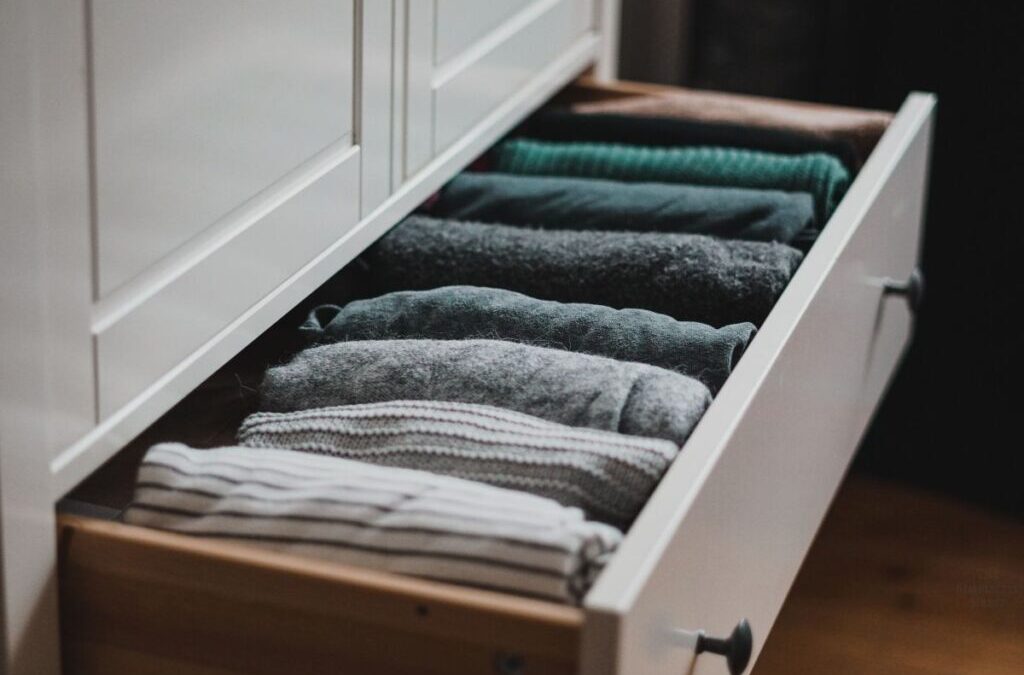
Step 4: Put Things Back
Once you’ve edited down your belongings, it’s time to put things back in a way that makes sense for your daily life. This is where this method really shines in focusing on function and aesthetics.
Start by placing the most-used items in the most accessible areas.
Everyday essentials should be within easy reach, while occasional or seasonal items can be stored higher or farther back.
Think about flow: how do you move through the space? How do you use it on a typical day?
In the kitchen, that might mean putting coffee mugs near the coffee maker and kids’ lunch supplies in a lower drawer they can reach.
In a bathroom, frequently used skincare products should be front and center, while backups and less-used items can go in labeled bins under the sink.
This step is about designing your space to work for you, not just look good.
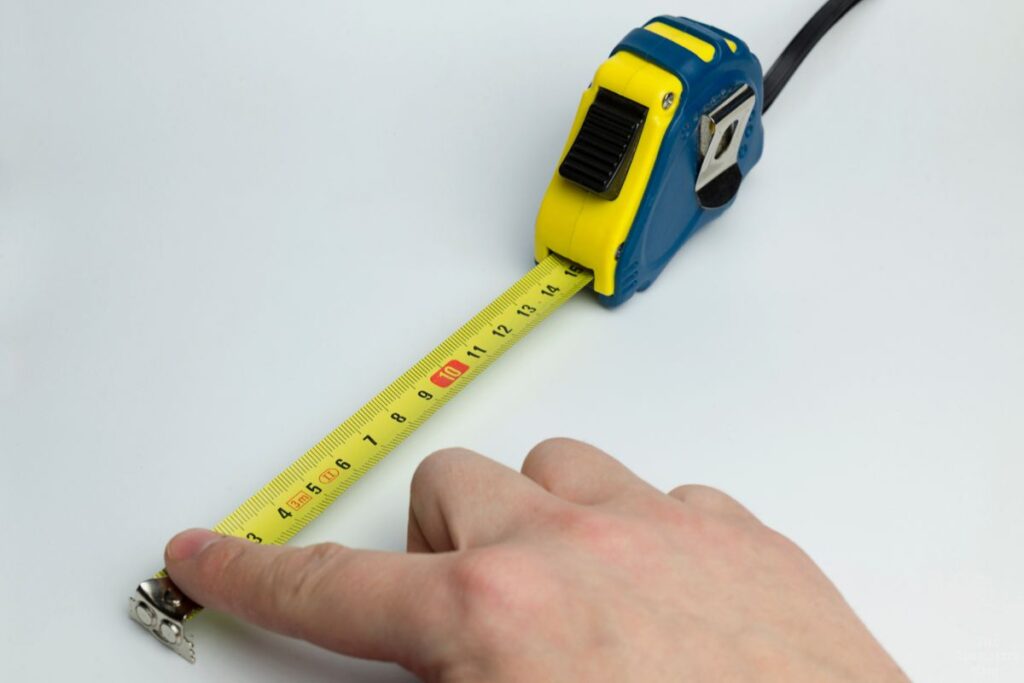
Step 5: Measure
After you’ve returned everything to its rightful place, you’ll likely find opportunities for improvement. That’s where measuring comes in.
While you might be tempted to move this step up in the process, the timing is very intentional. Don’t rush to buy organizing bins or baskets before understanding your actual needs and space constraints.
Measure shelves, drawers, and cabinet depths so that when you do purchase containers, they fit perfectly. Ill-fitting organizers can be more frustrating than helpful, leading to wasted money and added clutter. This step ensures every organizing solution serves a purpose and fits well.
Take note of vertical space you can maximize with risers or tiered shelving, or narrow spaces that could benefit from a rolling cart or stackable bins.
And don’t let yourself get tempted by the trendiest home organization solutions – think about what truly makes sense for you, your situation, and your space.

Step 6: Contain and Label
With the proper measurements in hand, you can now contain and label your items to maintain order over time. This is the signature finishing touch of the NEAT organizing method – and one of the most satisfying parts of the process.
Use containers that fit the function of the space and complement your style. Think clear bins for visibility, lidded baskets for bulkier items, drawer dividers for utensils or makeup, and lazy susans for hard-to-reach corners.
Uniform containers create visual harmony, which can make a space feel calmer and more inviting.
Once items are contained, don’t skip the labels. Labels reinforce habits by reminding everyone in the household (and yourself!) where things belong.
They also remove the guesswork and prevent systems from falling apart over time. Whether you use a label maker or handwrite tags, clearly labeled containers are a small but powerful way to stay organized for the long haul.
Want more help with organizing?
Check out these posts:
What area of your home could benefit most from the NEAT organizing method? Leave a comment and let me know!
Sign up on the form below to get weekly decluttering tips and inspiration sent straight to your inbox. You’ll also get the free 5 Areas to Declutter in 10 Minutes Checklist to help you get started decluttering today.