I love my Cricut, it’s simple and fun to use, so I decided to make a Father’s Day card with my Cricut.
It’s a simple process without any cutting. The Cricut does all the hard work, I put it together and it’s done. I don’t even need to address the envelope.
Check out these gift ideas for other occasions.
So, let’s get card-making.
Affiliate links are included for your convenience. (This means if you purchase after clicking a link I will earn a small commission which won’t cost you a penny more!) Click here to read my full disclosure and privacy policy.
Make A Father’s Day Card
Making my own cards appeals to me, I like spending time being creative and doing something personal.
The trouble is I’m not artistic, I can’t draw to save my life and I have limited ability when it comes to creativity, I need as much help as possible.
This is where the Cricut comes in. I design it on the computer and it then does the hard work of cutting out the designs, it can write too.
How To Make Cards With Cricut
Making cards with the Cricut is so simple. It does the hard work; the crafty aspect and it allows me to make my crafting look amazing.
The Cricut machine is an investment, but one that you will use all the time, some people actually use theirs as part of their business, making and creating for other people and do very well from it too.
You just need to log into your Cricut Design Space, find the project you want to tackle, and follow the on-screen instructions, it is that simple.
Making Cards With Cricut
There are so many different options that you can do with a Cricut that I’m really just beginning.
It’s going to be something that whilst I learn what I can do you will be able to see my projects and see how my crafting skills improve, as well as my confidence.
The card option I chose for this project was the Dad Hipster Card, this did cost, it’s not free to get some of the designs from Cricut.
But they are good value, it depends on where in the world you are buying from as to the amount! I paid just £0.79 which in US dollars it’s $1.05 which is a good price for something you can use again and again.
Payment options: I paid with my card, it was simple and secure.
You can join the Cricut Design Space pay a monthly fee and get all your projects with the green logo for free. It isn’t much per month. At the moment I’m busy and I just wanted to choose the option to purchase as needed.
If I find in the future that I’m looking at more expensive projects, then I will think about the monthly investment rather than buying the projects one at a time.
Card Making With Cricut
Card-making with Cricut is not the only thing that you can do, this is just one small area that is a great place to start.
The Design Space is a place where you can design and create anything, this is amazing, the sky’s the limit with creating different things for your home as well as making even more personalized cards.
Prices pulled from the Amazon Product Advertising API on:
Product prices and availability are accurate as of the date/time indicated and are subject to change. Any price and availability information displayed on [relevant Amazon Site(s), as applicable] at the time of purchase will apply to the purchase of this product.
There are so many crafting options that you can do and make that I really can’t wait to have the time to explore and grow with Cricut.
Make A Father’s Day Card With Cricut
I liked the look of Dad Hipster card, Cricut is still a new tool to me and I’m still learning the best way to use it.
I wanted something that looked good and was easy. I’m building my confidence up using this amazing piece of technology slowly.
It’s just a 3-step card. Once you load the mat with the card and follow the on-screen prompts it’s simple to do.
Having cut all the cards, it was just a simple task of putting the cards together.
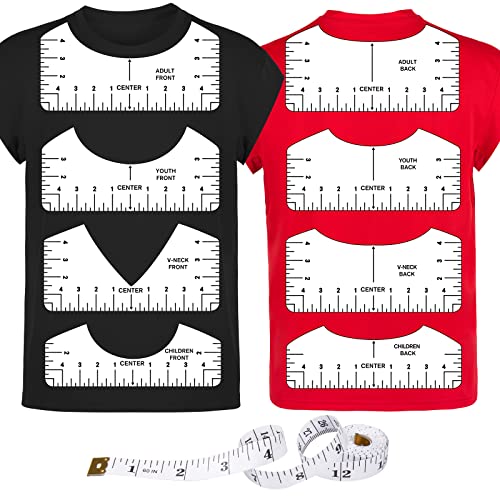
Supplies You Need To Make A Father’s Day Card With Cricut
As with all craft projects you are going to need a few supplies.
With these 3 items, you can make multiple different cards.
The First Cut
I loaded the card onto the mat, it’s sticky and holds the card in place. The first cut was the white card.
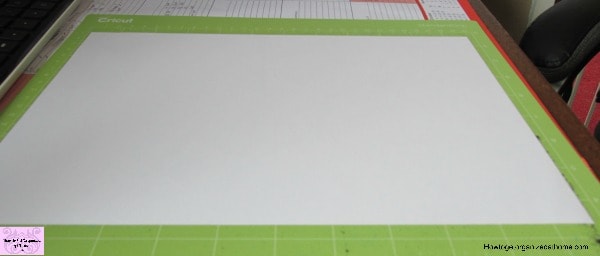
The Second Cut
The second cut was the black cut which goes behind the top part of the white card.
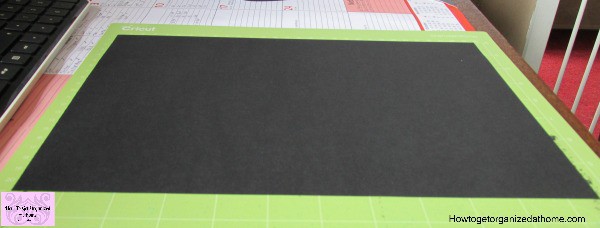
The Third Cut
A small piece of green card was the last and final cut. This was to cover the gap for the tie.
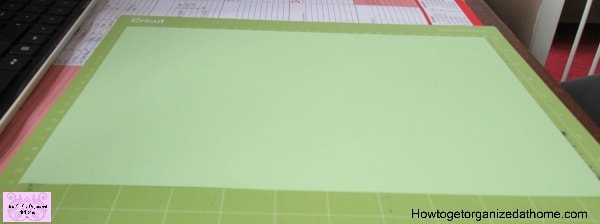
Putting The Card Together
The final part of the card-making process is putting the card together.
Make sure that the front of the card is facing down and you are gluing on the back of the picture!
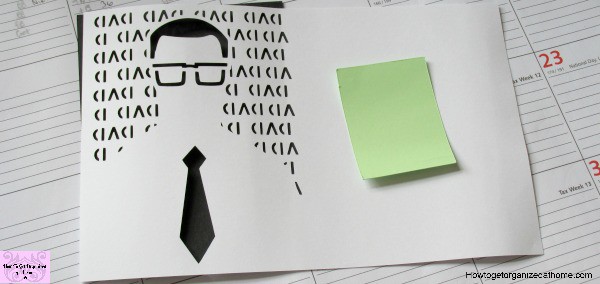
I glued the green card on first, making sure that the only thing the card covered was the space for the tie.
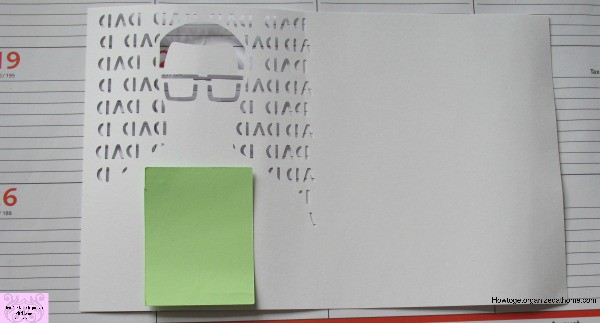
I glued the black card on top of the green card and the white card.
If you use glue let the card dry.
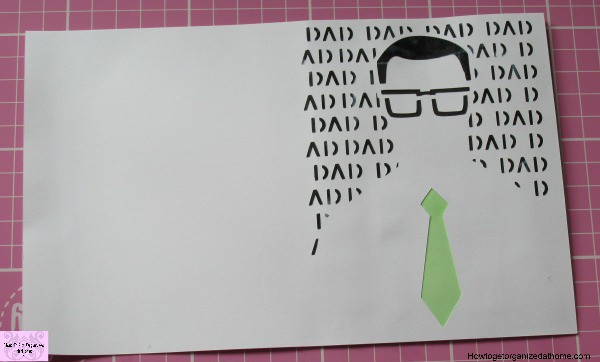
Fold the card down the scoreline.
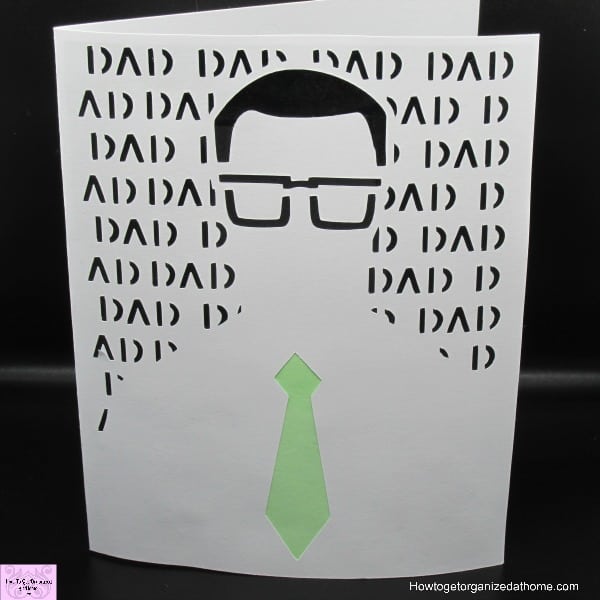
The card is now complete and ready for you to send to your dad.
Further Resources For Father’s Day Ideas
If you are looking for more Father’s Day ideas check out these articles below:

